Pages and routing in Next.js
This article is part of a series called "Next.js".
- Next.js: The big picture
- Pages and routing in Next.js
- Static files, styled-jsx and CSS modules in Next.js
- Generating static sites with Next.js

After talking about the big picture, let’s talk about getting up and running and making the first steps in our Next.js project. We will go through the installation steps, create pages and look at dynamic routing capabilities.
Installation and setup
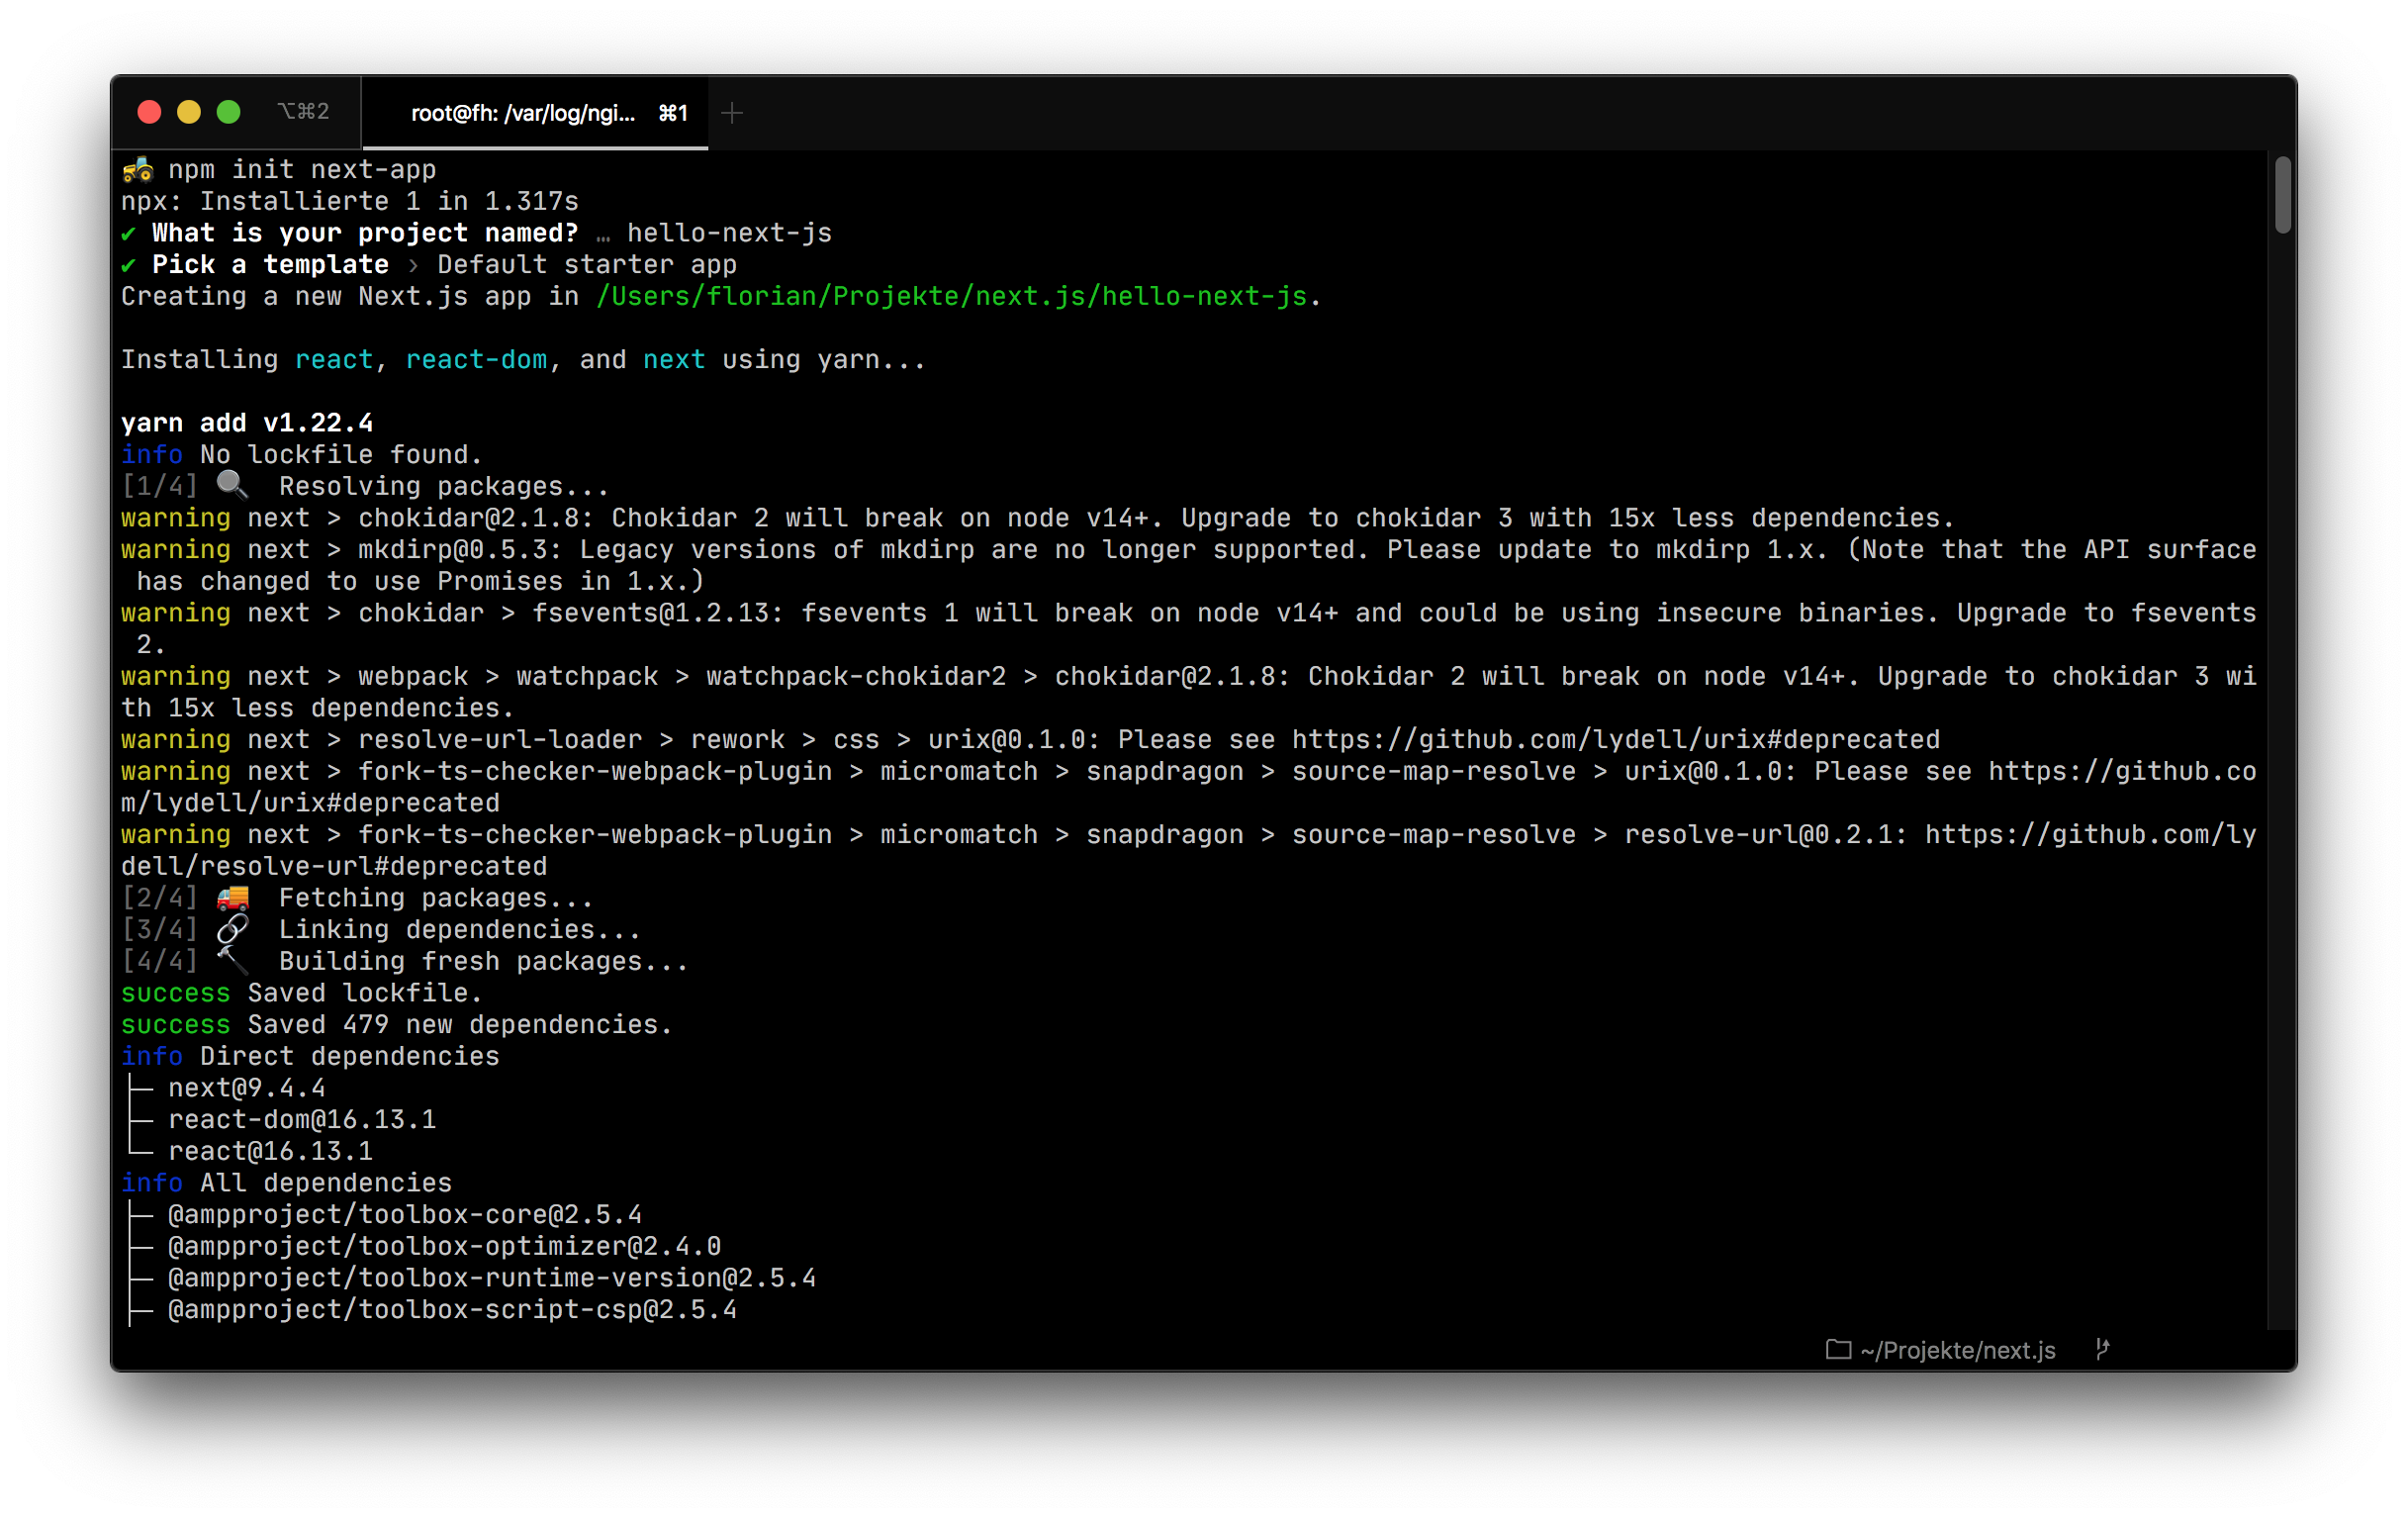
The developers behind Next.js put a lot of effort into making the onboarding as simple as possible. They provide an initialization script1 we can run from the terminal. It will create all the necessary files and install all dependencies2 for us.
You can invoke the script by running npm init next-app on the command line. It will allow you to chose between a default starter app or a more sophisticated example. For this article, we will chose the default option:
Once you made your first steps into the Next.js world, it makes a lot of sense to come back and chose one of the more sophisticated examples. They will help you to learn about all the interesting ways, Next.js can be combined with other technologies.
Project structure
The initialization script we just ran created a very minimal structure for us, which basically consists of a place for our pages and another one for our static assets (like our logo). Next.js achieves this, by hiding the complexity in the dependencies2, in our case 65MB of Javascript code in the node_modules folder. 🤷♀️3
.
├── node_modules
│   ├── ...
├── pages
│   ├── api
│   │   └── hello.js
│   └── index.js
├── public
│   ├── favicon.ico
│   └── vercel.svg
├── README.md
├── package.json
└── yarn.lock
Apart from the node_modules, package.json and yarn.lock there is nothing that seems unnecessary: Your pages will go to the pages directory, our API endpoints will live in the pages/api subdirectory and the public folder will hold all of our static asset files, that don’t need any compilation.
Starting the development server
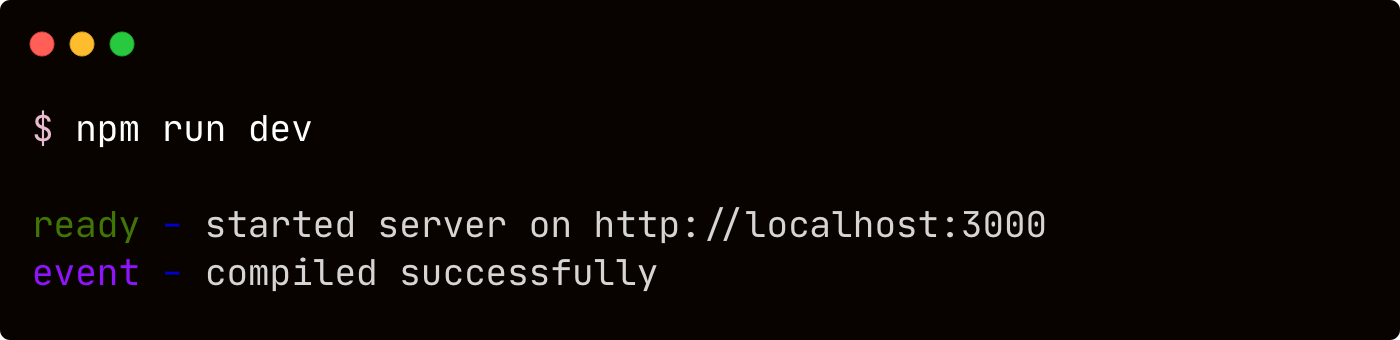
After setup, running your dev environment is handled by another simple npm script: npm run dev. It will start a development server, that watches your directories for changes and recompiles whenever needed.
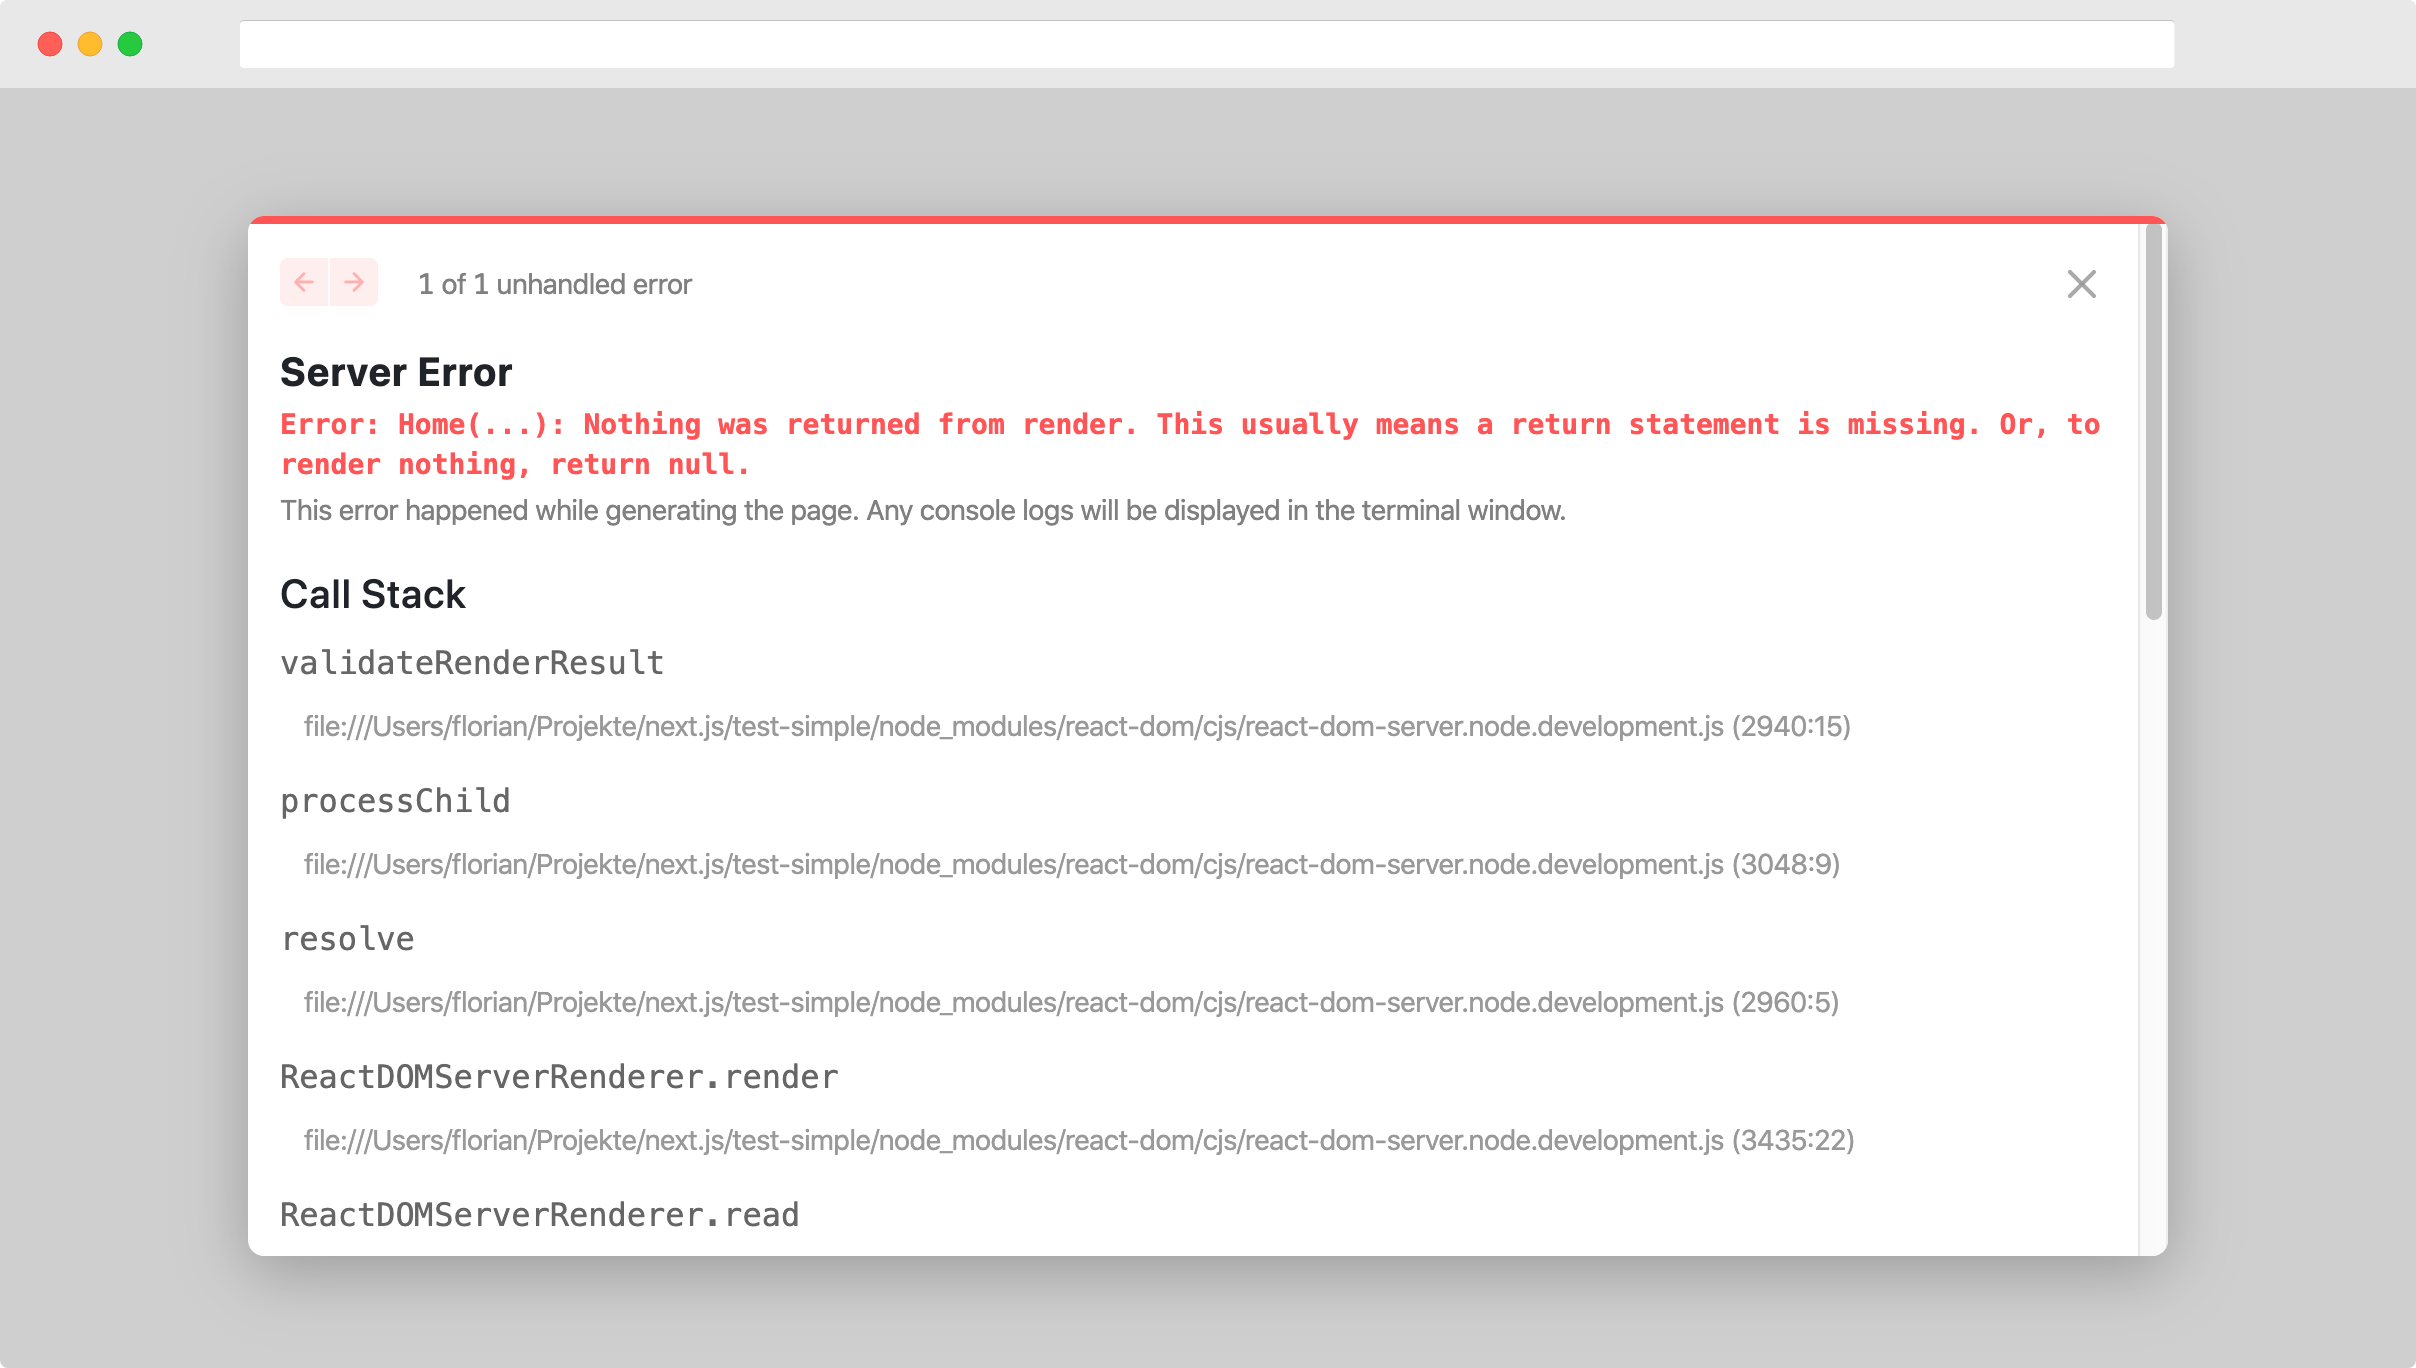
In case somethings goes sideways, the dev server will present you very helpful error messages.
In a future article, we will go deeper into running Next.js in production. For now we have a running development server, so we can dive into creating our first pages!
Creating pages
The initialization script created a default page for us, located in the pages directory. In the context of Next.js, pages are javascript modules4 that return a React.js component as the default export5. Here is code for the default page created by the init script:
import Head from 'next/head'

export default function Home() {
   return (
    <div className="container">
      ...
      <main>
        <h1 className="title">
          Welcome to <a href="https://nextjs.org">Next.js!</a>
        </h1>
        <p className="description">
          Get started by editing <code>pages/index.js</code>
        </p>
      ...
    </div>
  )
}
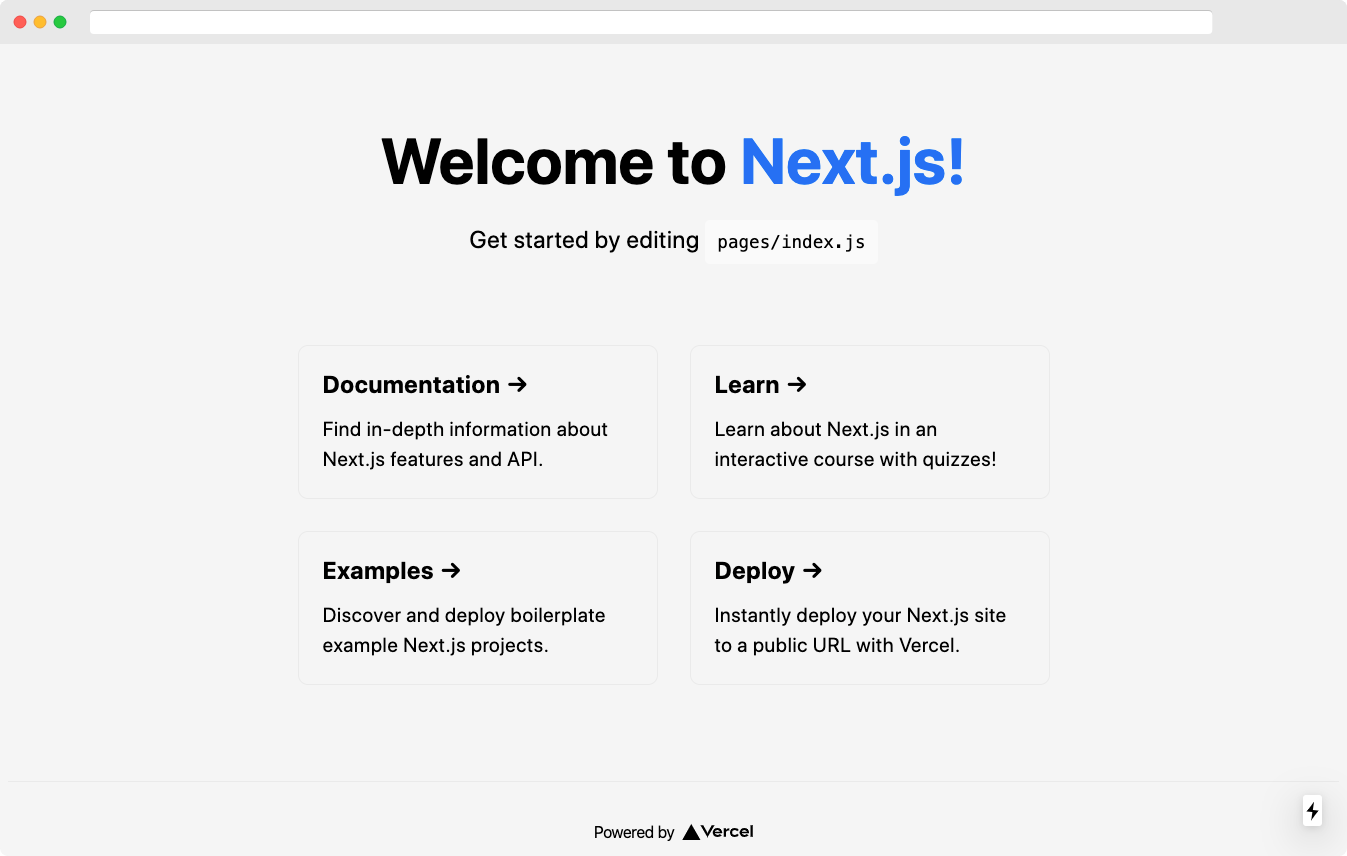
Opening http://localhost:3000 in your browser will – by default – render the component returned by the file printed above:
Adding a new page
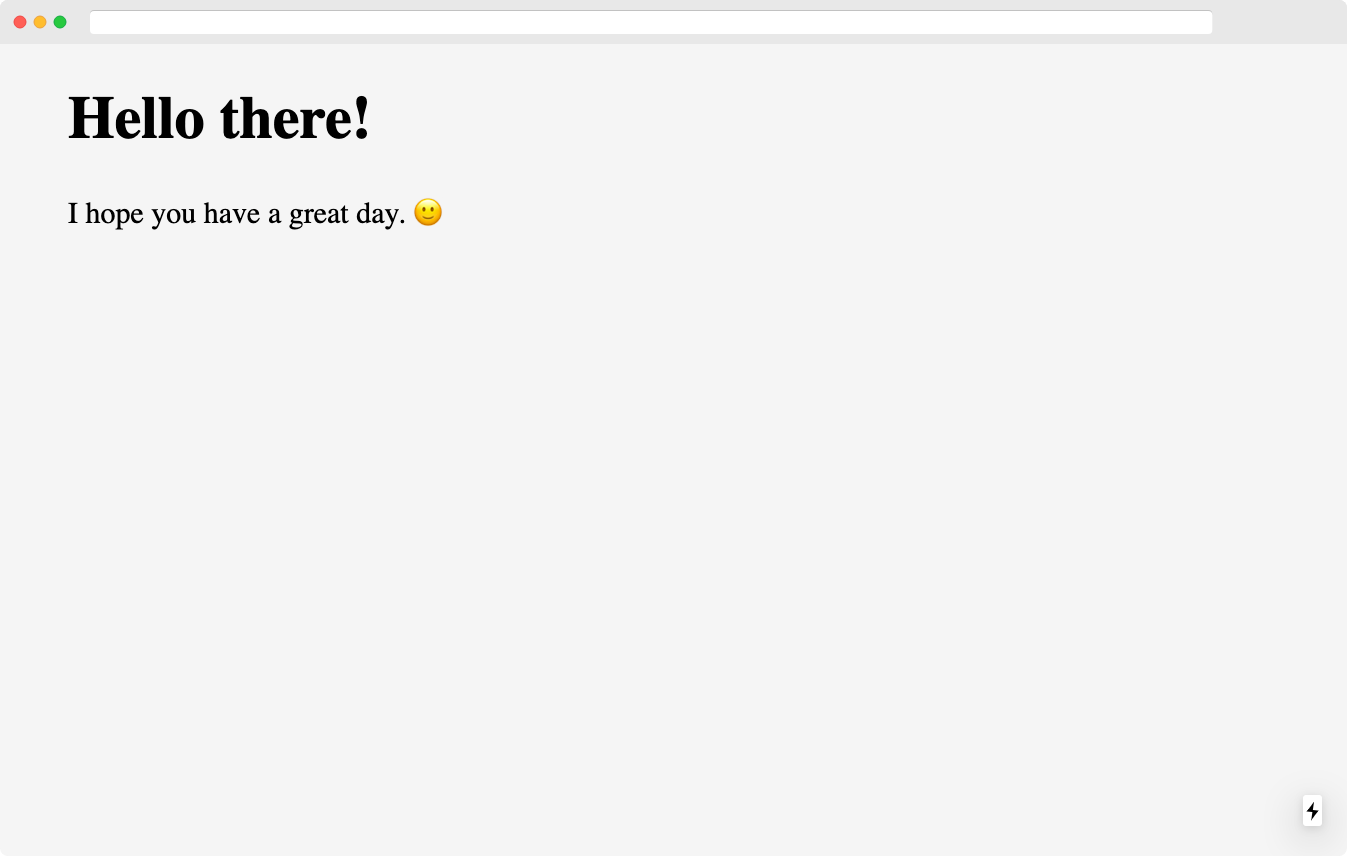
You can create a new page by adding a new Javascript file to the pages directory that exports a React component (just like the already created index.js file). The filename of the file will determine the new page’s URL: Creating a file called hello.js will result in the new route /hello.
export default function Hello() {
    return (
        <main>
            <h1>Hello there!</h1>
            <p>I hope you have a great day. 🙂</p>
        </main>
    );
}
This new page we just created, can be accessed by opening http://localhost:3000/hello in your browser.
Creating multiple levels of subdirectories will result in a hierarchical URL structure. So if you create the page /pages/products/shirts.js it’s URL will be http://localhost:3000/products/shirts.
As a side note, it seems like for now URLs of pages are always connected to the page’s filename. There are ways to manually override this and there is even a RFC6, but it is uncertain if this is officially supported and very much feels like a hack.
Linking pages
Even though you could just use classic <a href="…"> tags to link from one page to the other I want to highly encourage you to use Next.js <Link> component. If feels very similar to the one provided by react-router.
Using the <Link> component will allow Next.js to use client side routing7, which in turn will make your application feel a lot faster. If you – for example – want to link from our /hello page back to our homepage (/), you simply import the <Link> component and use it instead of raw HTML <a> tags.
import Link from "next/link";

export default function Hello() {
    return (
        <main>
            <h1>Hello there!</h1>
            <p>I hope you have a great day. 🙂</p>
            <Link href="/">Now go back</Link>
        </main>
    );
}
Dynamic routing
When your website has a lot of dynamic content (and it probably does), you want to be able to dynamically generate routes, based on that content. If you are – for example – working on a web application that has user profile pages, each user should have their own profile page URL, looking like this:
/users/alice/users/bob/users/chris/users/...
The dynamic parts of the profile page URL (alice, bob, chris, etc.), should be used by your system to load the specific user’s data and show their profile.
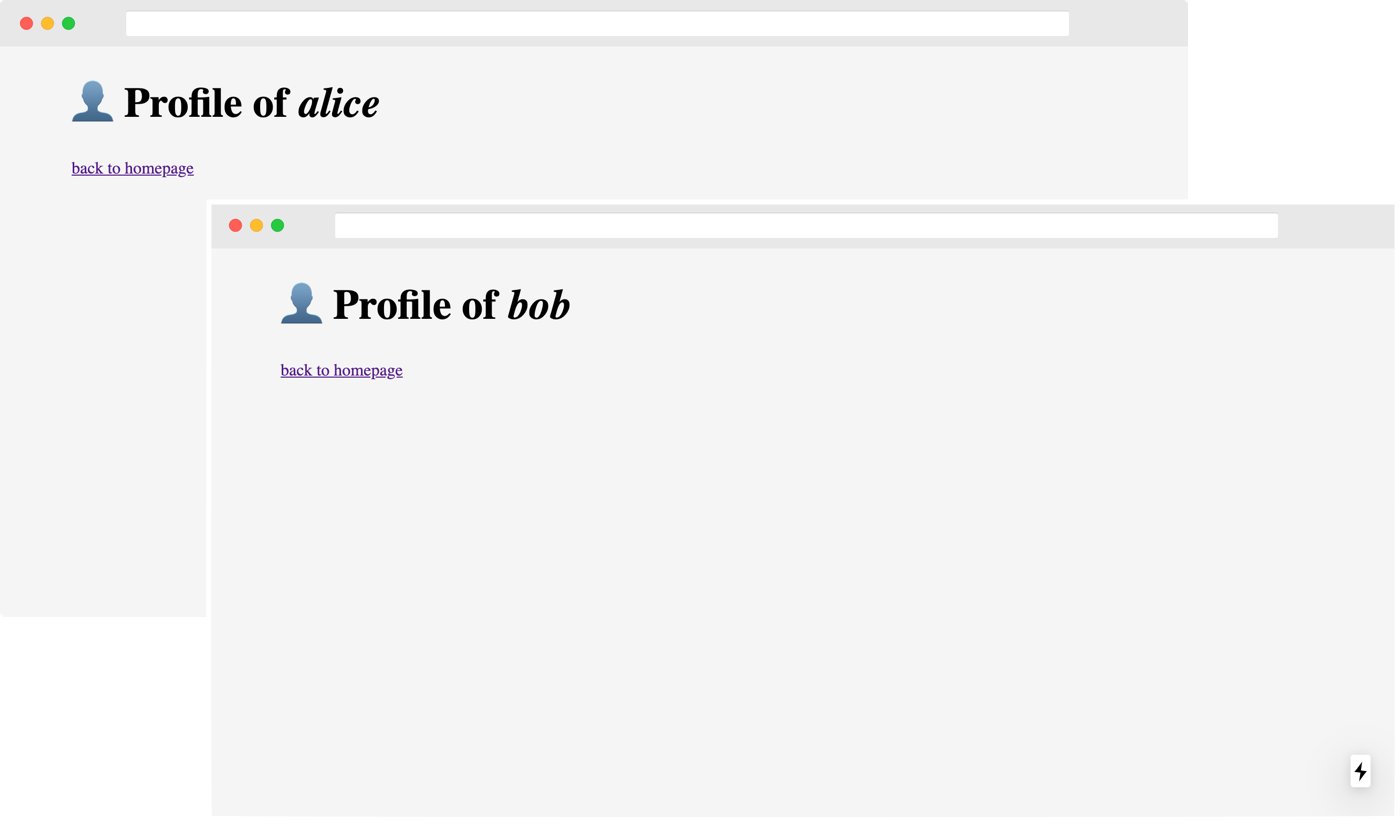
To achieve this, you first want to create a new page, that uses a special syntax in it’s filename to define a dynamic part. The idea is to use brackets to mark the part of your URL that acts as a placeholder. In our user profile example, the filename should be: /pages/users/[name].js. The [name] placeholder in the filename defines a new dynamic parameter, so that your code will be able to identify the dynamic part (alice, bob, chris, etc.) as the parameter name.
The file itself should be built just like any other page: A Javascript module, that exports a React component as it’s default export. In order to get to the dynamic parameter of the route (alice, bob, chris, etc.) you have to ask the Router to provide it. A special hook provided by Next.js will allow you to get a hold of the Router, which in turn will happily provide you the information you need:
import Link from "next/link";
import { useRouter } from 'next/router'

export default function Users() {

    const router = useRouter();

    return (
        <main>
            <h1>👤 Profile of <em>{router.query.name}</em></h1>
            <Link href="/">back to homepage</Link>
        </main>
    );
}
As a result, the page /pages/users/[name].js will respond to any URL that matches it’s pattern, like /users/alice or /users/bob and dynamically render the component based on that parameter.
Linking dynamic pages
Linking to a dynamic URL works like linking to any other page in Next.js, except that you have to provide two pieces of information: The URL you want to appear in the browser and the page’s filename. If you decide to leave the second part out, Next.js is unable to perform the in-browser routing and your page will loose it’s “instant” feel.
<Link href="/users/[name]" as="/users/alice">
    Alice's profile
</Link>

<Link href="/users/[name]" as="/users/bob">
    Bob's profile
</Link>
Manipulating the document’s <head>
Apart from changing a page’s content, you might also want to change a few things about the head part of your page. Next.js approach is very similar to what other React.js libraries, like React-Helmet provide. Simply import the Head component and nest your <meta> or <title> tags inside:
import Link from "next/link";
import { useRouter } from 'next/router';
import Head from 'next/head';

export default function Users() {
    const router = useRouter()
    return (
        <main>
            <Head>
                <title>Profile of "{router.query.name}"</title>
            </Head>

            <h1>👤 Profile of <em>{router.query.name}</em></h1>
            <Link href="/">back to homepage</Link>
        </main>
    );
}
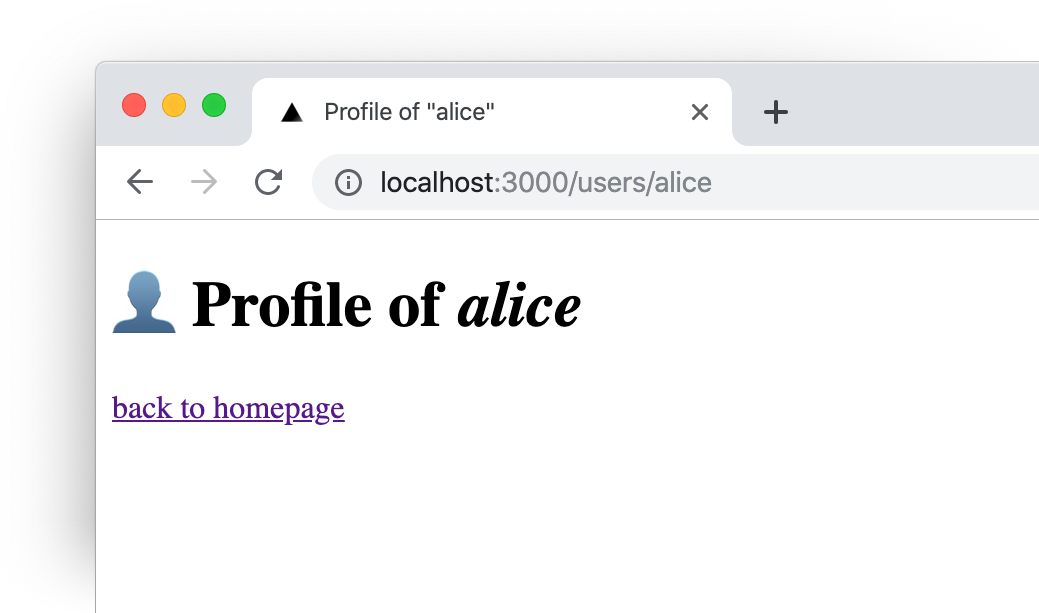 Setting a
 title tag can help your users to find the right tab in their browser, so it is well worth your time. The <Head> component can also be used to optimize your page for search engine crawlers or add special tags for social media content embedding8.
Recap
Next.js is not only very easy to setup, but also comes with a lot of example code for you to look at. If you chose the most simple install route in the initialization script, you have a clean slate to start your project. We talked about creating pages with static routes as well as dynamic routes and how to create a solid link structure.
I hope this article helped you to make your first steps in the exciting world of Next.js. The next article in this series will explore how static files and CSS styles are handled.
-
Many frameworks come with a set of scripts, which will help you to set up your application’s code repository. Often times, they come with a few options to chose from, so you have some influence on the kind of app you want to build. These scripts help you to get started with your project without having to read a lot of documentation fist. A very popular initialization script for React.js applications is called create-react-app. ↩
-
Most (if not all) modern web applications make use of code that was not specifically build for this project, but provides a generalized set of features, which is commonly used in building web apps. Those libraries and frameworks are called dependencies, because your application depends on them. One example is: If you build an application using Next.js, Next.js will be one of the dependencies of your application. ↩ ↩2
-
One thing that probably gives away my age is that I grew a little bit tired of the extreme amount of dependencies, modern Javascript frameworks seem to accept as normal. This is not only true for Next.js but for all modern web frameworks. I remember have been developing for the web for such a long time, that I remember people being conscious of their dependencies. But I am an old man, so: #yolo. ↩
-
In the early days of Javascript – when it was exclusively run in the browser – it did not have any kind of module system. Code in multiple files was more or less seen as one big codebase. There were little tricks like IIFE to at least provide some kind of modularization. Today there are multiple ways to modularize your Javascript code. The author of this article has high hopes that those will one day merge and provide a unified experience for Javascript developers, because currently (June 2020), code for the browser and code for the server (node.js) have different syntax to handle modules by default. ↩
-
The exported component can be – as in any other React.js content – either a class or function based component. ↩
-
In many open source projects, bigger changes are initially introduced by a Request For Comments (RFC). The idea is to create a document that is the basis for discussions in a larger group. Often times, the RFC will include a description of the problem or change and some example solution of how to solve the problem. ↩
-
One of the main building blocks of the web is using links to move from one page to another one. The browser does not really differentiate between different pages on one domain and different pages on different domains. This is – in general – a wonderful thing, as the user can navigate from page of one domain to another domain without being restricted in any way. The downside is, that if a user navigates from one page to another page on the same domain, her browser will have to reload the whole page, even though many parts of the page (like the navigation, header or footer) will mostly stay the same. Client side routing will bypass the browser’s behavior and make sure that if a user navigates from one page to another page, only the parts that are different will be reloaded. This makes the page change feel a lot more quick. In order to make this work properly though, dynamic routing also need to ensure that the URL in the address bar is changed accordingly, using history and pushState. ↩
-
Some social media website will scan your website’s
<meta>tags for special information about how you want your website to appear as a preview. Facebook introduced a “standard” called Open Graph. Even though Open Graph is an open standard, not every social network makes use of it. If you want to optimize your website for this use case, you might want to check Metatags.io, which is able to generate proper<meta>tags for your website. ↩
This website does not use any tracking or feedback mechanism. Instead, I would love for you to get in touch with me to let me know if you liked it or if you have any suggestions or questions.